前端狗啥都要学系列
# Nginx 定义 & 优点
Nginx (engine x) 是一个轻量级、高性能的 HTTP、反向代理服务器,同时也是一个通用代理服务器 (TCP/UDP/IMAP/POP3/SMTP)
它具有高性能,占用内存少,并发能力强的优点,最大可以支持 50000 个并发连接数
# Nginx 的常用命令
安装
当然,在开始使用之前,你需要先下载 Nginx
官网链接:http://nginx.org/en/download.html
下载完毕后,解压即可使用,目录是这样的

目录树如下
├── client_body_temp
├── conf                             # Nginx所有配置文件的目录
│   ├── fastcgi.conf                 # fastcgi相关参数的配置文件
│   ├── fastcgi.conf.default         # fastcgi.conf的原始备份文件
│   ├── fastcgi_params               # fastcgi的参数文件
│   ├── fastcgi_params.default
│   ├── koi-utf
│   ├── koi-win
│   ├── mime.types                   # 媒体类型
│   ├── mime.types.default
│   ├── nginx.conf                   # Nginx主配置文件
│   ├── nginx.conf.default
│   ├── scgi_params                  # scgi相关参数文件
│   ├── scgi_params.default
│   ├── uwsgi_params                 # uwsgi相关参数文件
│   ├── uwsgi_params.default
│   └── win-utf
├── fastcgi_temp                     # fastcgi临时数据目录
├── html                             # Nginx默认站点目录
│   ├── 50x.html                     # 错误页面优雅替代显示文件,例如当出现502错误时会调用此页面
│   └── index.html                   # 默认的首页文件
├── logs                             # Nginx日志目录
│   ├── access.log                   # 访问日志文件
│   ├── error.log                    # 错误日志文件
│   └── nginx.pid                    # pid文件,Nginx进程启动后,会把所有进程的ID号写到此文件
├── proxy_temp                       # 临时目录
├── sbin                             # Nginx命令目录
│   └── nginx                        # Nginx的启动命令
├── scgi_temp                        # 临时目录
└── uwsgi_temp                       # 临时目录
常用命令
PS:默认情况下,你需要在目录位置对应的控制台下才能运行这些命令
# 启动 (启动效果可以访问 http://localhost:80 查看) | |
$ nginx # 会一直阻塞 cmd 窗口 | |
$ start nginx # 打印日志后可以退出 | |
# 查看版本 (-v 换成 - V 可以查看更详细的版本信息) | |
$ nginx -v | |
nginx version: nginx/1.24.0 | |
# 检查配置语法是否正确 | |
$ nginx -t | |
nginx: the configuration file G:\program\nginx-1.24.0/conf/nginx.conf syntax is ok | |
nginx: configuration file G:\program\nginx-1.24.0/conf/nginx.conf test is successful | |
# 重新载入 Nginx | |
# 当配置信息修改时,使用这个命令重新加载 nginx 配置 | |
$ nginx -s reload | |
# 停止 nginx | |
# PS:-s 是代表向 nginx 进程发送通知的意思 | |
$ nginx -s stop # 强制停止 nginx | |
$ nginx -s quit # 有序停止 nginx | |
# 查看全部命令 | |
$ nginx -h | |
nginx version: nginx/1.24.0 | |
Usage: nginx [-?hvVtTq] [-s signal] [-p prefix] | |
[-e filename] [-c filename] [-g directives] | |
Options: | |
-?,-h : this help | |
-v : show version and exit | |
-V : show version and configure options then exit | |
-t : test configuration and exit | |
-T : test configuration, dump it and exit | |
-q : suppress non-error messages during configuration testing | |
-s signal : send signal to a master process: stop, quit, reopen, reload | |
-p prefix : set prefix path (default: NONE) | |
-e filename : set error log file (default: logs/error.log) | |
-c filename : set configuration file (default: conf/nginx.conf) | |
-g directives : set global directives out of configuration file |
# Nginx 配置
这里循序渐进地对 Nginx 配置做一些简单的介绍
# 从默认的 Nginx 文件开始
nginx 的默认配置文件 nginx.conf 在安装目录 conf 文件夹下
在移除所有 Nginx 注释后,我们可以得到以下配置
# 全局块 | |
worker_processes 1; | |
# event 块 | |
events { | |
worker_connections 1024; | |
} | |
# http 块 | |
http { | |
include mime.types; | |
default_type application/octet-stream; | |
sendfile on; | |
keepalive_timeout 65; | |
# server 块 | |
server { | |
listen 80; | |
server_name localhost; | |
# location 块 | |
location / { | |
root html; | |
index index.html index.htm; | |
} | |
error_page 500 502 503 504 /50x.html; | |
location = /50x.html { | |
root html; | |
} | |
} | |
} |
其中,每个块的作用如下,这里我们重点关注 server 和 location 块即可
- 全局块:nginx 全局块是指 nginx 配置文件中的最外层块,它可以包含多个指令和其他块,用于定义全局的配置和行为,
- events 块:主要用于配置事件驱动模型和连接数限制。
- http 块:用于定义 HTTP 全局配置。处理代理,缓存,日志定义等绝大多数功能和第三方模块的配置,比如文件引入,mime-type 定义,日志自定义,是否使用 sendfile 传输文件,连接超时时间,单连接请求数等。
- server 块:配置虚拟主机的相关参数。
- location 块:定义一个 URI 或者 URI 模式对应的请求处理规则。
# location 块的处理规则
Location 的具体语法为
location [ = | ~ | ~* | ^~ ] uri { ... } |
例子如下
PS:不知道为什么,匹配大小写的设置无法生效,可能是 window 的 nginx 有问题?或者是 nginx 新版本有什么问题... 以后再看看吧
server { | |
listen 9998; # 监听 9998 端口 | |
server_name localhost; # 监听的服务器名字 | |
# = 表示精确匹配 | |
location = /getUser { | |
add_header Content-Type "application/json"; | |
return 200 "{id: 1, age: 16}"; | |
} | |
# ~ 表示区分大小写的正则匹配 | |
location ~ ^/getData$ { | |
add_header Content-Type "application/json"; | |
return 200 "{id: 2, age: 16}"; | |
} | |
# ~* 表示不区分大小写的正则匹配 | |
location ~* ^/list$ { | |
add_header Content-Type "application/json"; | |
return 200 "[1,2,3]"; | |
} | |
# ^~ 表示 url 以某个字符串开头 | |
# 当访问 http://localhost:9998/img/1.jpg 时,可以访问到静态文件服务器下的图片 | |
location ^~ /img/ { # 指定匹配的路径 | |
root static/; # 指定 web 服务器的根目录 | |
index index.html; # 指定默认的主页文件名 | |
} | |
} | |
server { | |
listen 9997; | |
server_name localhost; | |
# 表示通用匹配 | |
# 当访问 http://localhost:9998/css/index.css 时,可以访问到静态文件服务器下的样式文件 | |
location /css { | |
root static/; | |
index index.html; | |
} | |
# 表示通用匹配 | |
location / { | |
add_header Content-Type "text/plain"; | |
return 200 "Hello World"; | |
} | |
} |
相对简单,用到时再查就完事
这里值的顺便一提的是,如果有多个 location 规则可以命中,那么会遵循一定的优先级配置来进行返回。
- 检查使用前缀字符串(也就是通用匹配开头)的 locations,在使用前缀字符串的 locations 中选择最长匹配的,并将结果进行储存
- 如果匹配到符合带有
=修饰符的 URI,则立刻停止匹配 - 如果符合带有
^~修饰符的 URI,则也立刻停止匹配。 - 然后按照定义文件的顺序,检查正则表达式(也就是前面带
~*和~修饰符的),匹配到就停止 - 当正则表达式匹配不到的时候,使用之前储存的前缀字符串
# 一些简单的 Nginx 模板
# 加载自定义配置
这里我们用 include 指令加载 nginx 的相关配置
http { | |
include mime.types; | |
include config/*.conf; # 加载 nginx/conf/config 目录下的所有配置文件 | |
} |
# 启动一个静态网站服务
在 nginx/conf/config 目录下新建一个 static-server.conf 文件,然后加上以下配置
# 开启一个本地代理服务器 | |
server { | |
listen 9999; # 监听 9999 端口 | |
server_name localhost; # 监听的服务器名字 | |
# 开启 gzip 压缩 | |
gzip on; | |
gzip_min_length 1k; # 最小压缩单位 | |
gzip_types application/javascript; # 取自响应头 Content-Type | |
gzip_static on; # 启用预先压缩的 Gzip 文件(也就是搜索同目录下的.gz 文件返回) | |
location / { # 指定匹配的路径 | |
root static/; # 指定 web 服务器的根目录 | |
index index.html; # 指定默认的主页文件名 | |
} | |
} |
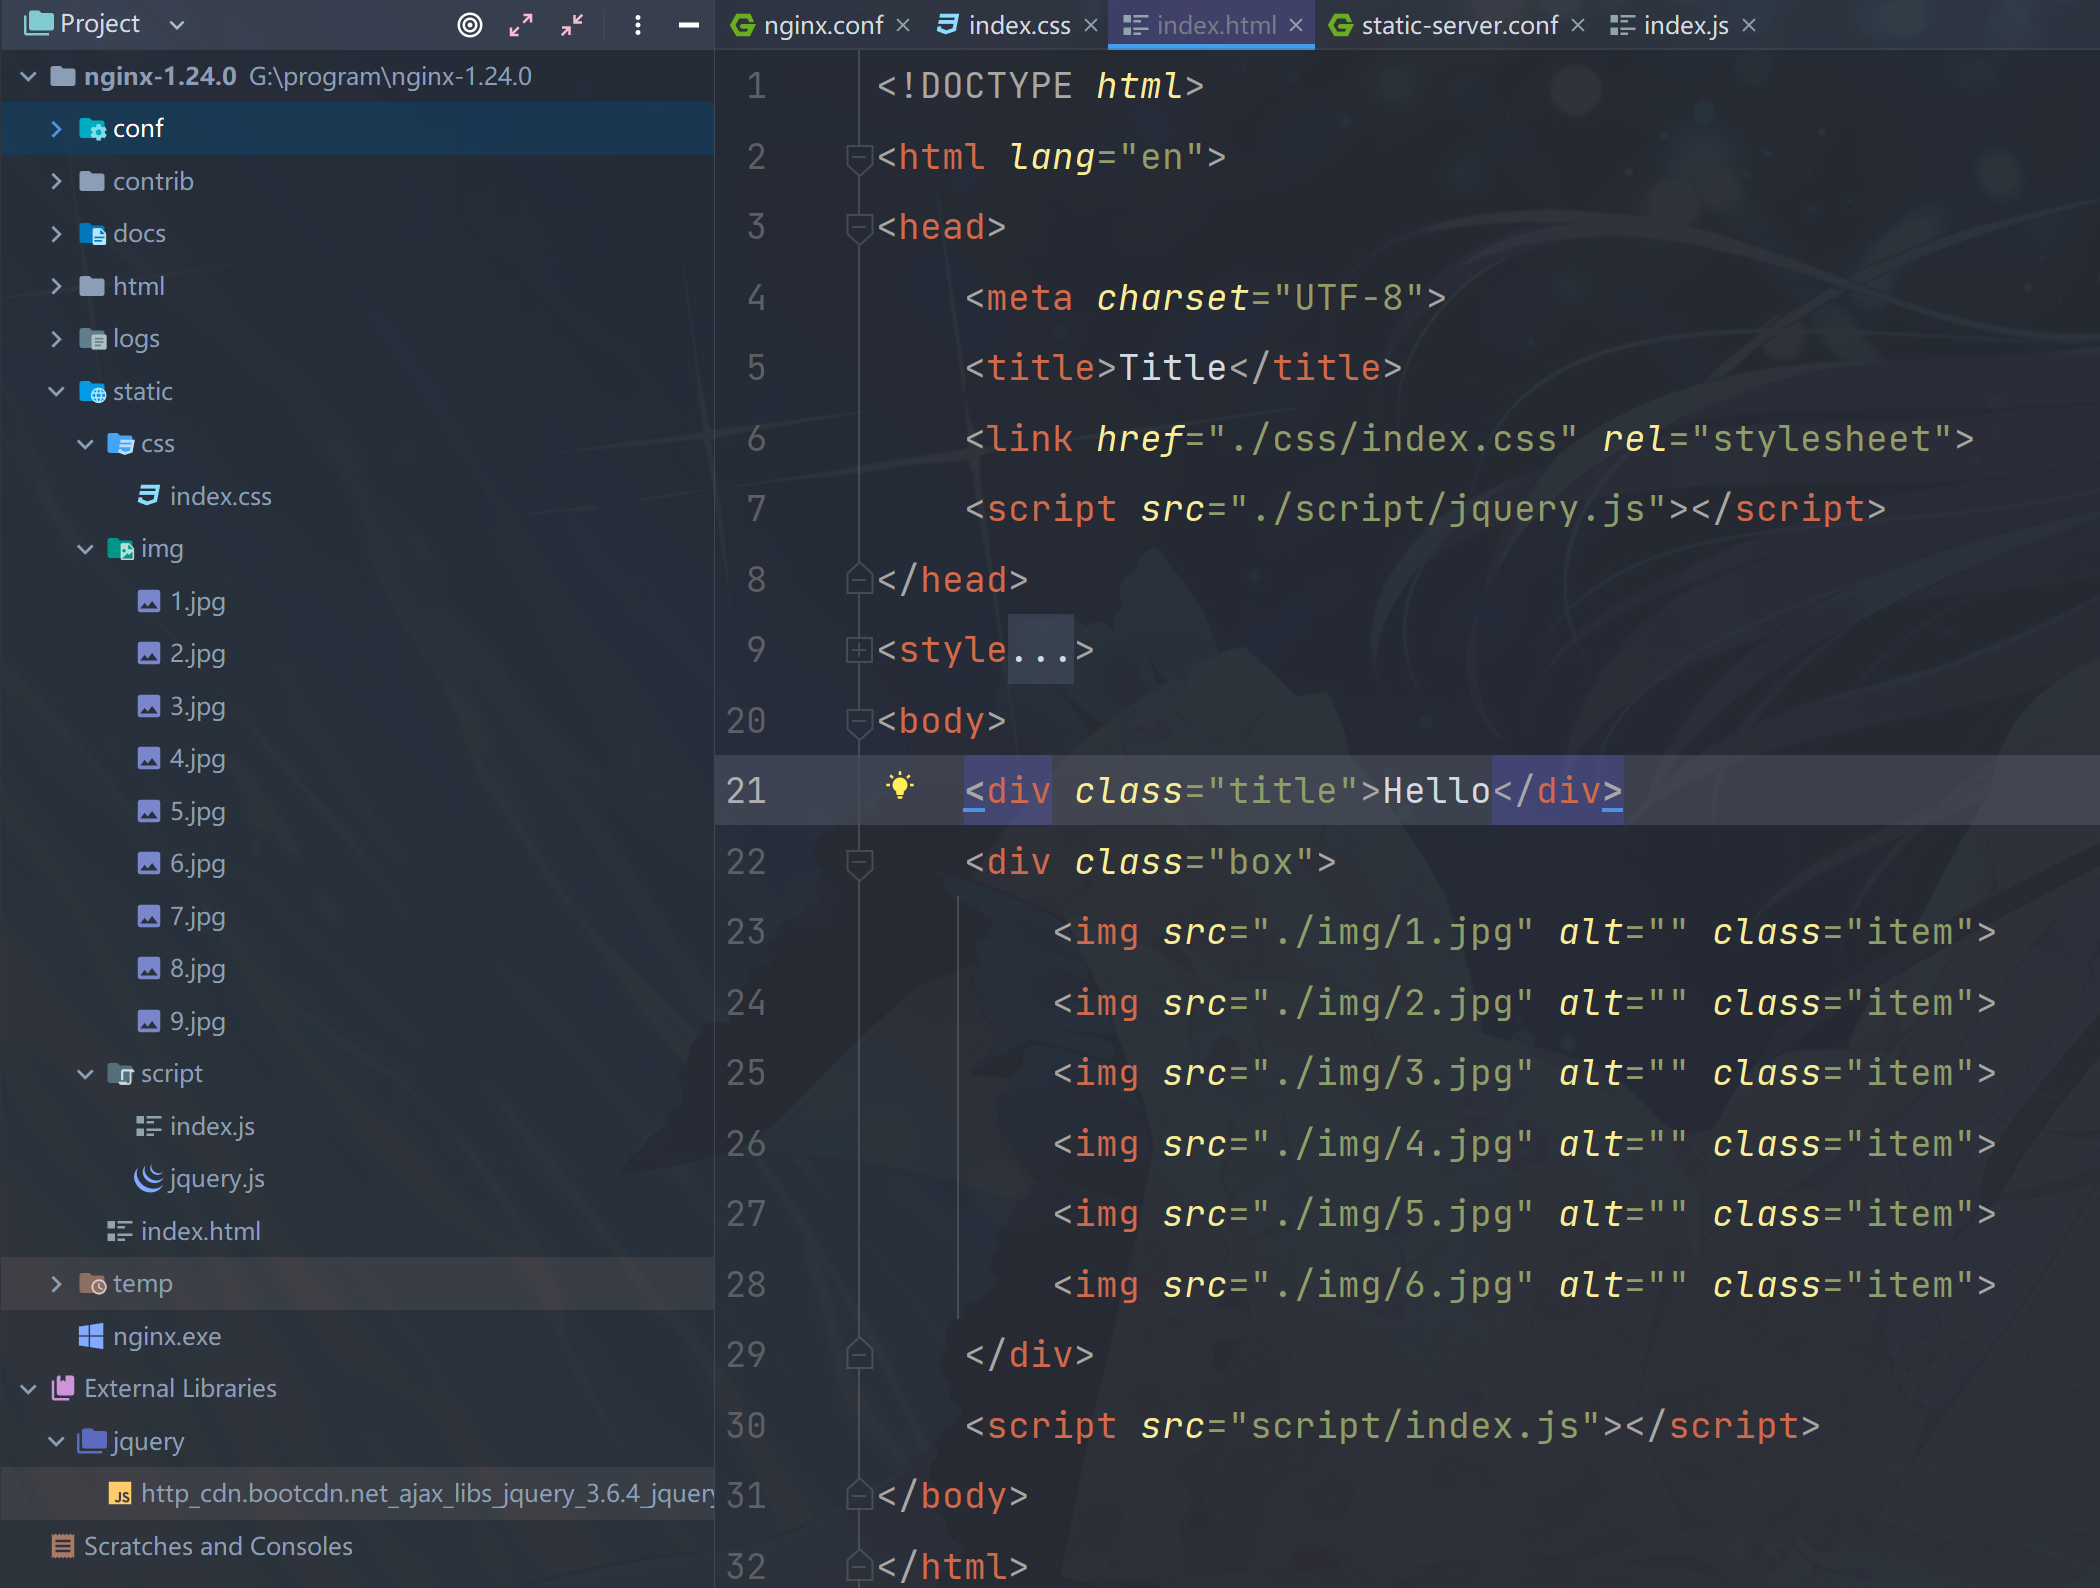
然后,在 /static 目录下,加上一些文件
调用 nginx -s reload 重启配置后,就可以通过访问 localhost:9999 查看效果了

# 单页应用路由处理
总所周知,如果你的路由使用了 history 模式,那么在访问 localhost:8080/about 这种链接时,会返回 404
原因是 nginx 会把这个连接当成一个文件去处理(你可以在 dist 目录下加一个 about 文件来验证),而 nginx 找不到这个文件,所以就会返回 404
# 开启一个本地代理服务器 | |
server { | |
listen 9996; # 监听 9996 端口 | |
server_name localhost; # 监听的服务器名字 | |
location / { # 指定匹配的路径 | |
root dist/; # 指定 web 服务器的根目录 | |
index index.html; # 指定默认的主页文件名 | |
try_files $uri $uri/ /index.html; # 将所有路由请求重定向到 Vue 应用的入口文件 (index.html) | |
} | |
} |
我们仅需在静态网站的基础上,添加一行 try_files $uri $uri/ /index.html 配置即可,这样我们就可以将路由请求重定向回 index.html 了(但注意,不要在目录下存放和路由同名的文件,不然的话,就会访问那个同名的文件)。

# 开启防盗链
只要在 nginx 中加入以下的配置即可
# 开启一个本地代理服务器 | |
server { | |
listen 9999; # 监听 9999 端口 | |
server_name localhost; # 监听的服务器名字 | |
# ... 其他配置省略 | |
# 防盗链配置 | |
location ~* .*\.(gif|jpg|png)$ { | |
root static/; | |
valid_referers localhost; # 仅限 localhost 访问 | |
if ($invalid_referer) { | |
# 配置返回 403 | |
# return 403; | |
# 配置:重定向请求 | |
rewrite ^/ https://s2.loli.net/2023/04/25/HyDgp25ZsVxwJ83.png; | |
break; | |
} | |
} | |
} |
# 负载均衡
平均将请求转发到两台服务器上
upstream webapp { | |
server localhost:9996 weight=1; | |
server localhost:9999 weight=1; | |
random two least_conn; | |
} | |
server { | |
listen 9995; | |
location / { | |
proxy_pass http://webapp; | |
} | |
} |
# 跨域
跨域的配置非常简单
server { | |
listen 8070; | |
location / { | |
# 允许跨域的请求,可以自定义变量 $http_origin,* 表示所有,always 表示所有情况下都返回 | |
add_header 'Access-Control-Allow-Origin' * always; | |
# 允许携带 cookie 请求 | |
add_header 'Access-Control-Allow-Credentials' 'true'; | |
# 允许跨域请求的方法:GET,POST,OPTIONS,PUT | |
add_header 'Access-Control-Allow-Methods' 'GET,POST,OPTIONS,PUT'; | |
# 允许请求时携带的头部信息,* 表示所有 | |
add_header 'Access-Control-Allow-Headers' *; | |
# 允许发送按段获取资源的请求 | |
add_header 'Access-Control-Expose-Headers' 'Content-Length,Content-Range'; | |
# 一定要有!!!否则 Post 请求无法进行跨域! | |
# 在发送 Post 跨域请求前,会以 Options 方式发送预检请求,服务器接受时才会正式请求 | |
if ($request_method = 'OPTIONS') { | |
add_header 'Access-Control-Max-Age' 1728000; | |
add_header 'Content-Type' 'text/plain; charset=utf-8'; | |
add_header 'Content-Length' 0; | |
# 对于 Options 方式的请求返回 204,表示接受跨域请求 | |
return 204; | |
} | |
# 对 localhost:8070 所有的请求都会被转发到 https://server.com | |
proxy_pass https://server.com; | |
} | |
} |
请求的时候使用以下代码
let baseUrl = IsDev ? "http://localhost:8070/" : `https://server.com`; // 根据环境选择前缀 | |
let instance = axios.createInstance({ | |
baseUrl: baseUrl | |
}); | |
(async function () { | |
let data = await instance.get("/data"); | |
console.log('data', data); | |
})() |
# 参考
前端仔也需要懂的 nginx 内容:https://juejin.cn/post/7007346707767754765
Nginx location 匹配规则:https://www.cnblogs.com/woshimrf/p/nginx-config-location.html
Nginx 配置文件介绍:https://zhuanlan.zhihu.com/p/396032376
nginx.conf 配置文件详解:https://juejin.cn/post/6844903741678698510
nginx 反向代理解决跨域问题:https://juejin.cn/post/6995374680114741279
nginx 一网打尽:https://juejin.cn/post/7112826654291918855#heading-13